Happy Thursday!! We officially made it to April!! Utah’s weather is finally calming down and we are seeing the light at the end of the tunnel! Which means it is time to start to shedding the layers! Less layers means we are going to be showing some skin that sure hasn’t seen the sun in a while, and that can be scary! Am I right?! There is just something about feeling tan that gives you that boost of confidence. It really helps you feel a little more on your A game. And since I have tried my fair share of all things tanning options, and had my own tanning fails along the road, I thought I would share my top tried + true tips to getting the best sunlesss tan with you today!
So let’s get started! Raise your hand if you are completely overwhelmed with all of the sunless tanner options out there? I swear I hear about a new one every day!! I have tried so so many, but there is one that I love so much!

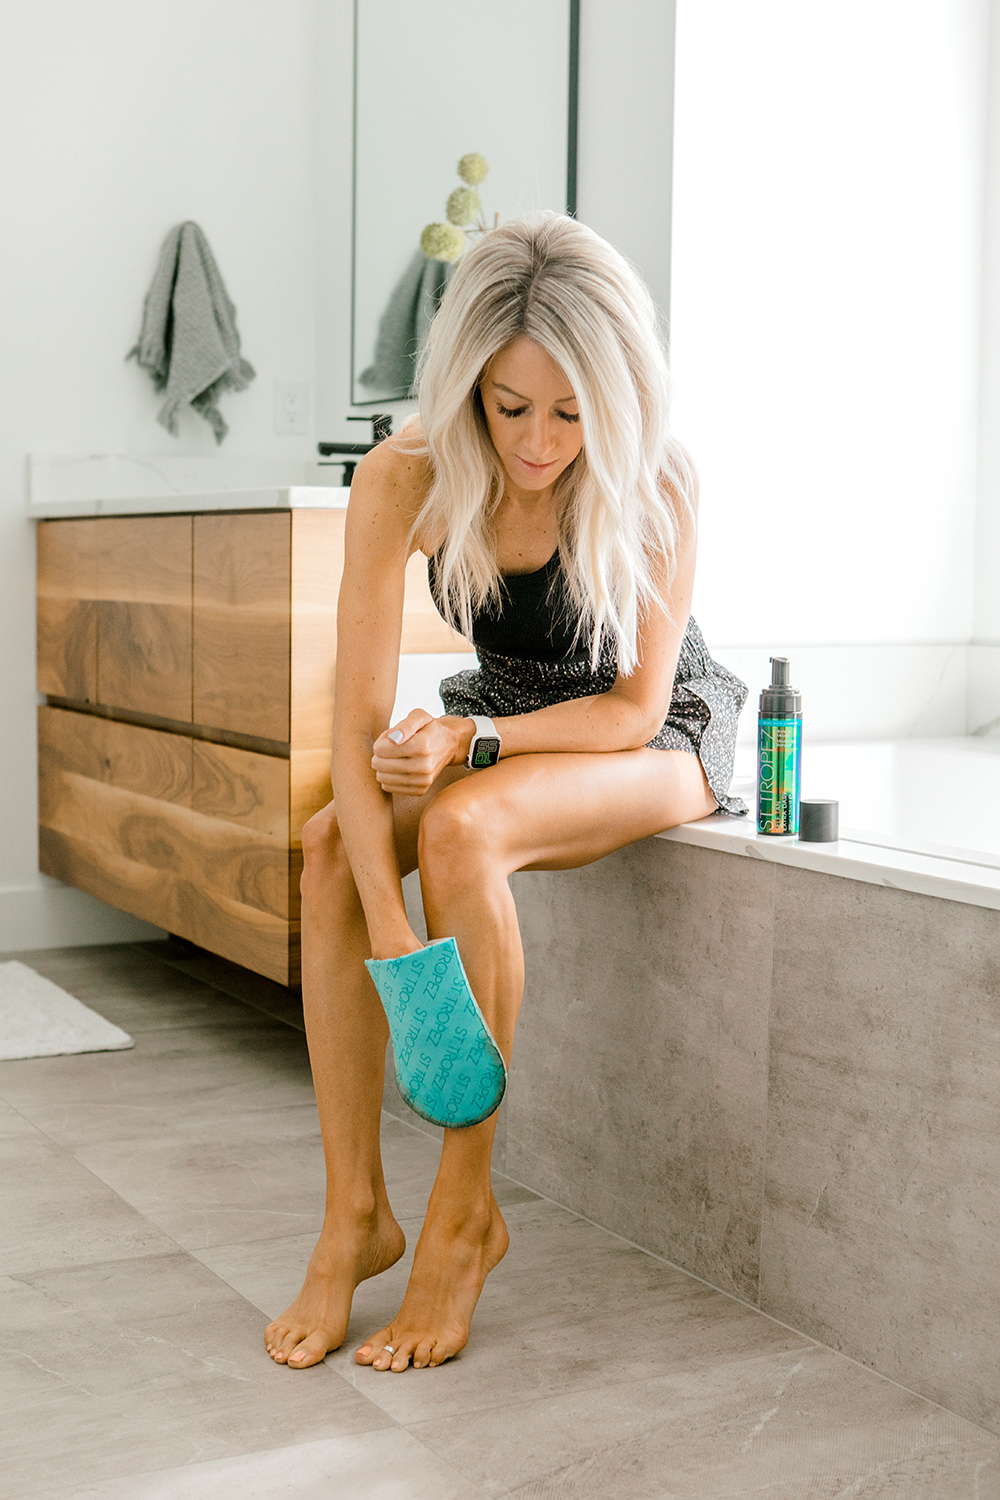
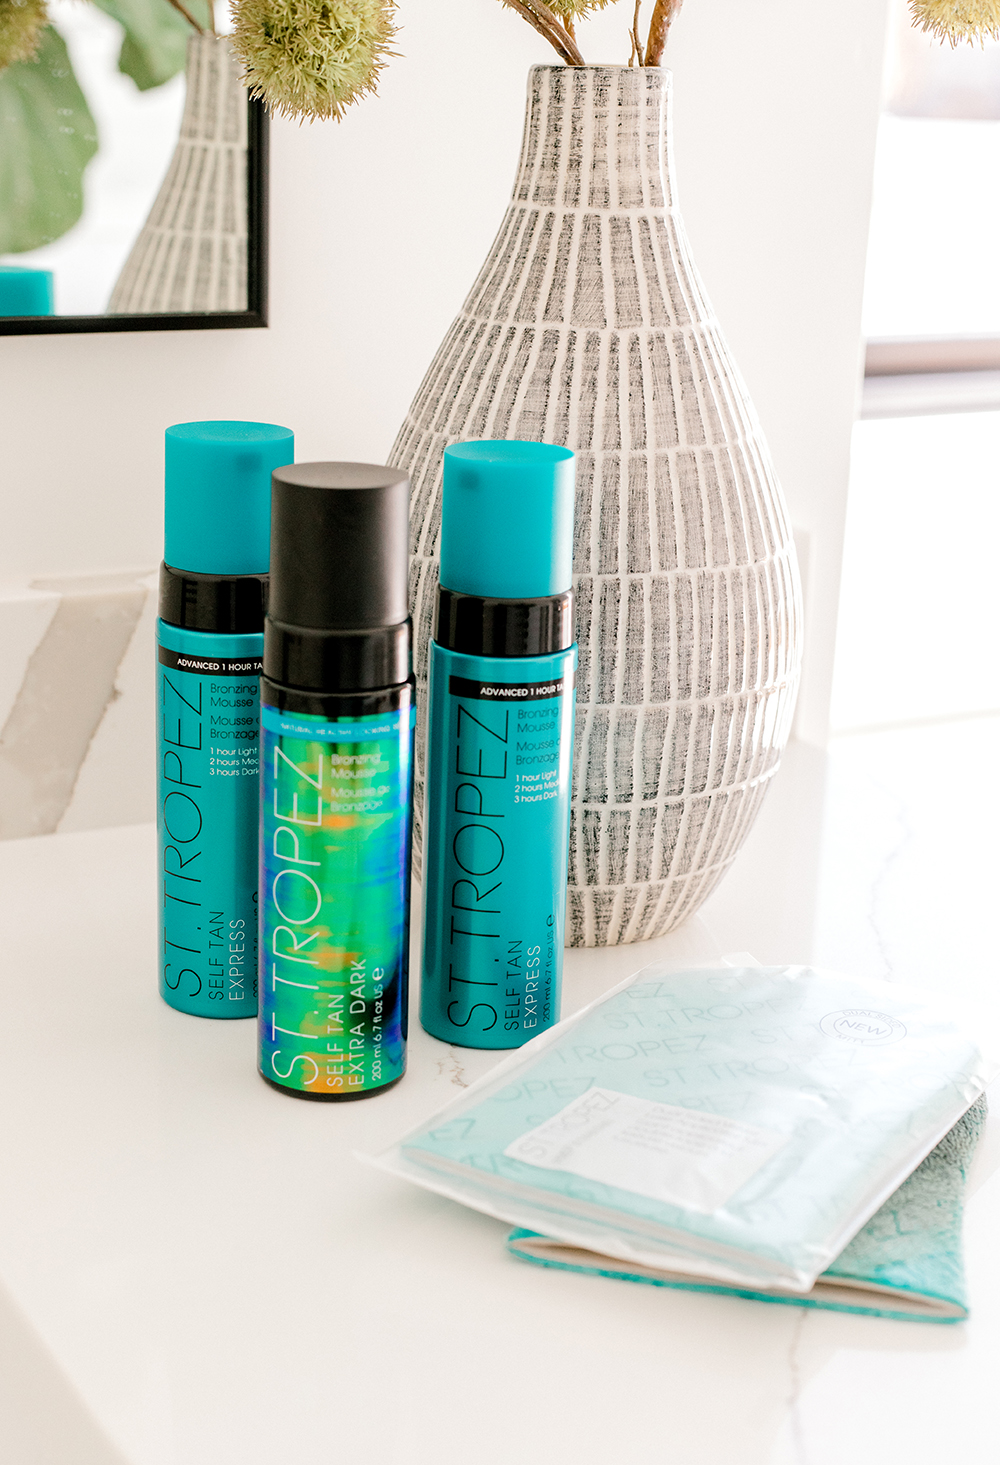
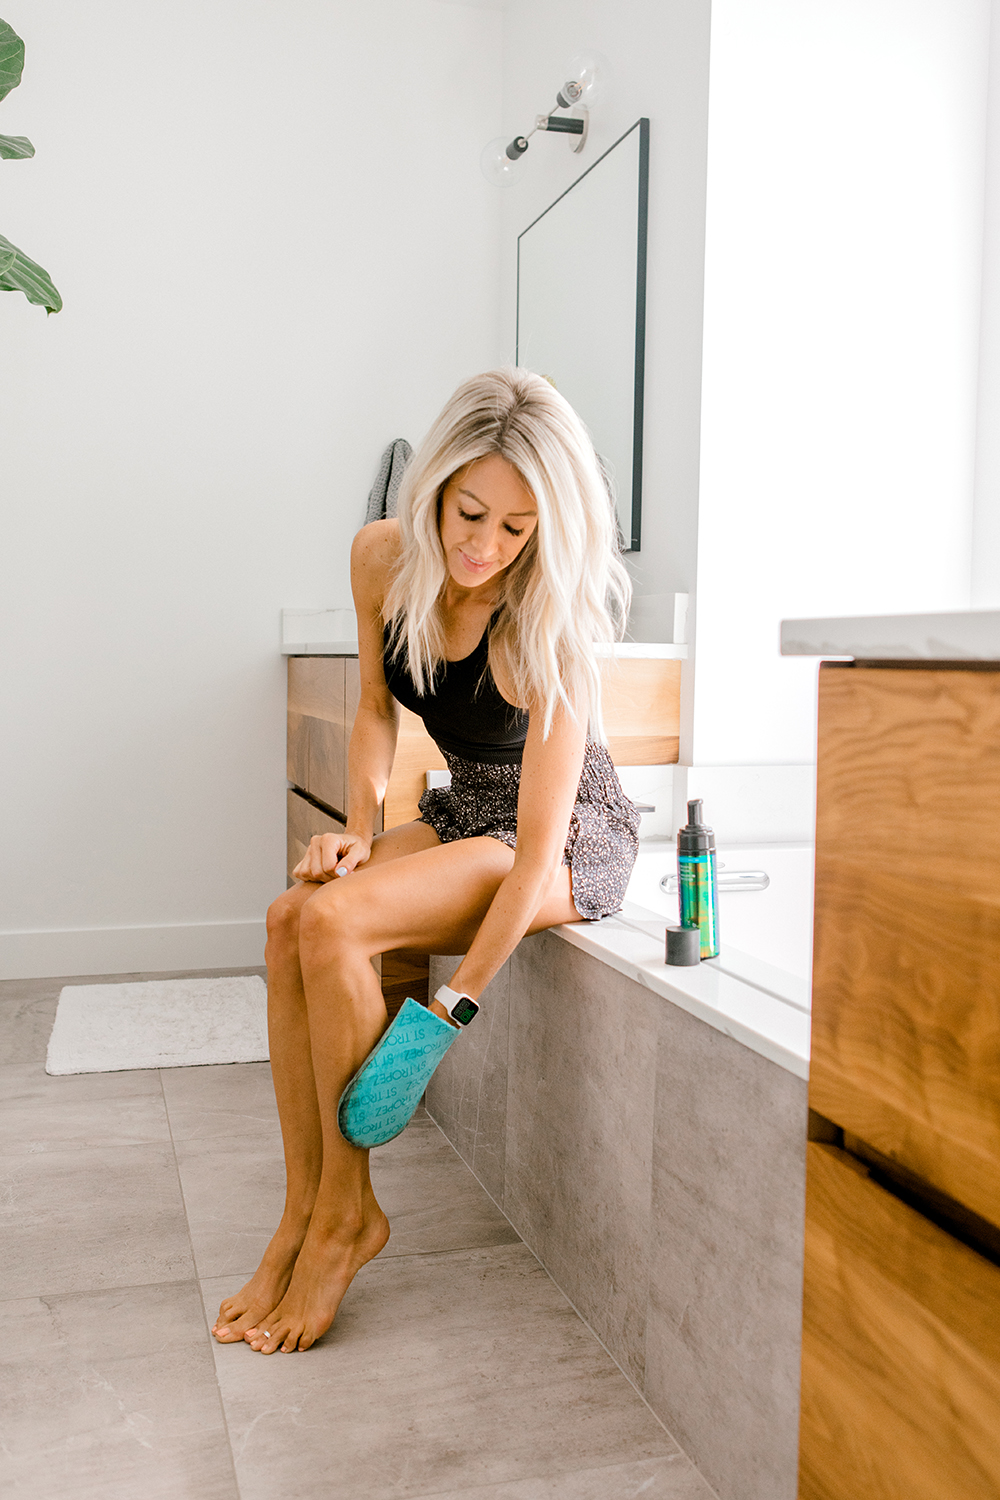
The St. Tropez Self-Tan Express Bronzing Mousse is hands down my favorite tanner I have found. It gives such a good, dark, quality color while still looking very natural. No orange oompa loompa look here! It is also a mousse rather than a lotion, so it goes on relatively easy, isn’t streaky, and you can easily see where you are applying it as you go. My trick to getting the best tan out of it is to treat it like an overnight tan still. Put it on at night and sleep on it before rinsing. That gives it more time to develop and get you the best color! You can also grab it in the extra dark on sale here!
Another great option that gives you these same amazing results, also in a mousse is the Loving Tan. It is easy to apply and gives that same dark natural tan with no orange hues.
Now that you know my go to tanner, let’s talk the must know tips + tricks to help that golden tan last longer and look it’s best!

: 7 TIPS to help your tan last longer :
#1 EXFOLIATE AND SHAVE THE NIGHT BEFORE
Exfoliating before doing any form of spray tan is HUGE when it comes to making it last. You want that nice soft fresh skin to work with to absorb the tan the most evenly across your body. I always try to exfoliate the night before I’m going to apply the tan. It is close enough to be effective, but not right before so my pores are wide open and more sensitive.
#2 MOISTURIZE YOUR DRIEST AREAS
Some people will tell you you need to apply lotion every where you are going to apply the tanner. Personally I don’t take the time to do that. I apply lotion to all the places that I know my skin is the driest. For most people that will be your elbows, knees, hands, and feet. You want to make sure you are evenly moisturized. That way the color is absorbed evenly and you don’t end up with extra dark areas!
# 3 APPLY YOUR TANNER AT NIGHT
I always always apply my tanner right before bed if possible, and then rinse when I wake up, even on the express options. It gives you a full nights sleep for it to really soak in and get you the best color. By doing it at night, you are also giving yourself the longest period of avoiding water. You won’t have to worry about needing to wash your hands or do the dishes and have your hands end up a different color than the rest of you.
But remember, no matter what people tell you, all the tanner options are going to transfer at least a little bit before you rinse. I have a pair of “tanning pajamas” that are long sleeve/long pants and silky that I wear after applying. I am completely covered so it won’t transfer to bedding, and I don’t have to worry about ruining multiple pairs of pajamas.

#4 GO EASY ON YOUR FACE
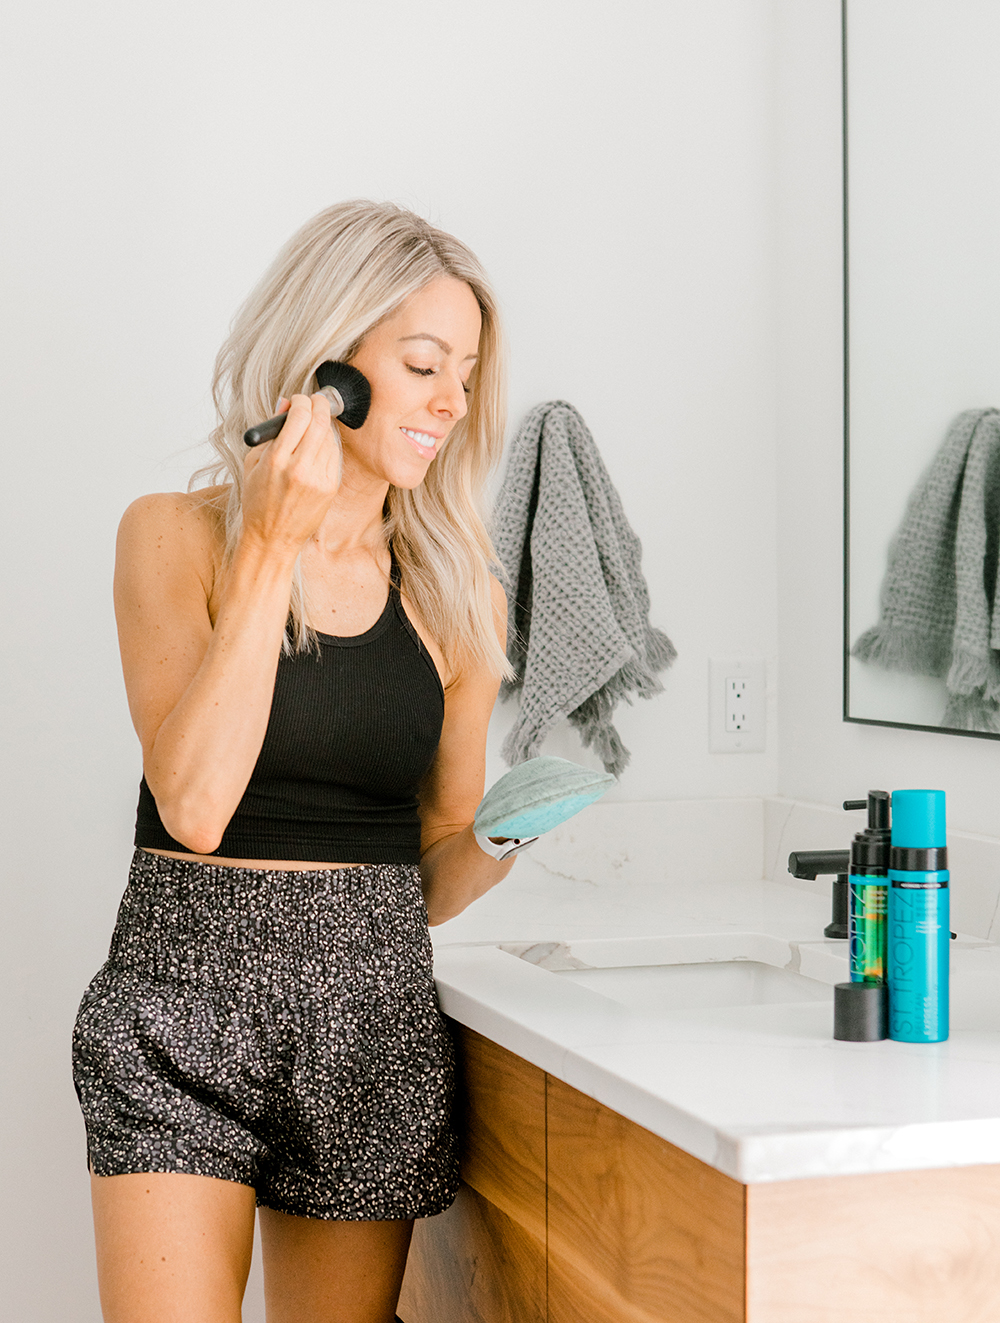
I personally avoid using a self tanner all over my face. To me it looks like your face is dirty, and tends to highlight the wrong areas, making you look like you have a dark unibrow or mustache. My tip for your face is to use the tanner as more of contour. I will just take a makeup brush, dab on the tanning mitt I used, and contour with the tanner around outside of my forehead, neck and a little on my nose. That way you are giving a more natural look and not going to dark or dirty looking on your face. I will usually use this same brush method for my hands too to avoid crazy orange tan hands. If you would rather go an even easier method, these face drops mixed with your moisturizer give an amazing color!!
#5 AVOID THE OBVIOUS
Put one more layer of lotion/moisturizer on hands and feet. Use the mitt on just the very tops of your hands and feet. Avoid fingers/toes and knuckles. Then squirt a dollop of the tanner on the mitt. With an old big fluffy makeup brush, evenly apply the tanner to the brush, and apply to those tricky areas. This will help give it a more natural even look, and not get stuck/highlight the obvious areas.
#6 RINSE, NOT SCRUB OFF
This one might sound a little obvious to some, but it is so key in getting the most out of your tan. When you are ready to shower after your application setting period, don’t think of it as a normal shower. There should be no scrubbing or washing involved. It is basically just the last rinse cycle your car goes through at the car wash. You don’t want to scrub off all the hard work!!
#7 MOISTURIZE
The biggest tip to getting the most of your tan is to moisturize!!! As soon as you’ve done your rinse cycle, get alll the moisturizing you can in. This helps to lock in the color longer and get the best tone out of your color!
. . .
I hope these details and tips help you feel ready to take on your tan with ease! If you are a first timer, I promise it’s not as hard as it looks. You are going to LOVE the results!! Shop all my favorites for tanning here!
photos : aubrey taiese


Tell Me What You Think! leave a comment...